How to Specify a Covered Walkway for Your School: Materials, Sizes and What to Ask For
Alex Thomas
Founder & Director
Most of the conversations I have with school business managers start with funding and end with specification. By the time a school has worked out how it is going to pay for a covered walkway, it often has not thought through what it is actually buying.
That gap matters. A walkway specified incorrectly for the site — wrong width, wrong roof material, wrong fixing method — creates problems that cost money to fix after installation. This guide covers what to think about before you ask for quotes.
Start with function, not dimensions
The most common mistake is to start with a dimension. "We need a 3-metre wide walkway" is usually a guess based on nothing. The right starting point is: what do you need this walkway to do?
Throughput. How many pupils will use this route at any one time? A corridor between two buildings used by an entire year group at class changeover needs to be wide enough to handle a two-way flow of 30 pupils without bottlenecking. A route to a single classroom needs far less.
All-weather use. Will the walkway be used during heavy rain and strong wind? The roof pitch, overhang, and panel overlap specification needs to account for this. A flat-roof walkway with standard polycarbonate is fine in moderate rain; it becomes a problem in driven horizontal rain if the panels are not overlapped and sealed correctly.
Accessibility. Is the walkway a primary route for wheelchair users, pupils with SEND, or staff with mobility needs? Width requirements change. Surface requirements change. Fixing arrangements at building entry points may need to accommodate level thresholds.
Aesthetic fit. Does the walkway run alongside a listed building, through a conservation area, or across a school that has a defined design character? Material and colour choices that work on a 1970s comprehensive may be inappropriate on a Victorian primary school.
Get the function clear before you get into materials and sizes.
Width: what the numbers actually mean
Walkway widths are typically specified from 1.5m to 4m clear internal width. Here is what each range means in practice:
1.5m to 2m. Suitable for a low-traffic route used by one class at a time, or a staff-only link. Single file plus passing space. Not suitable for class changeovers on main corridors.
2m to 2.5m. The most common specification for school link walkways. Comfortable two-way flow for most class-changeover scenarios. Fits most standard footpaths and existing tarmac routes.
2.5m to 3m. For higher-traffic routes, primary school playgrounds where the walkway runs alongside an open area, or where you want usable covered space under the walkway rather than just a sheltered corridor.
3m to 4m. For dining, play or outdoor learning use as well as circulation. At this width the structure starts to function as a canopy as much as a walkway.
The width you specify should be driven by the worst-case usage scenario, not the average. A walkway that works for 90% of the school day but creates a bottleneck at morning registration is a poorly specified walkway.
Roof materials: polycarbonate vs glass
This is where most school specifiers get stuck. Here is a direct comparison.
Polycarbonate
Polycarbonate is the standard roof material for school covered walkways. It is impact-resistant, lightweight, significantly cheaper than glass, and provides good UV and light transmission. A 16mm or 25mm multiwall polycarbonate panel gives reasonable thermal performance and good light diffusion.
The trade-offs: polycarbonate scratches over time and can yellow if lower grades are specified. Always specify UV-stabilised polycarbonate with a 10-year anti-yellowing guarantee. Specify at least 16mm multiwall — anything thinner performs poorly in heavy rain (noise and potential leakage at joints).
Polycarbonate is the right choice for the majority of school walkway projects.
Glass (toughened or laminated)
Toughened or laminated glass gives a premium finish. It does not yellow, does not scratch, and looks significantly better than polycarbonate over a 20-year period. For schools with listed buildings, heritage settings, or where visual quality is a priority, glass is worth specifying.
The trade-offs: glass is substantially heavier than polycarbonate, which affects the structural specification of the walkway frame. It costs more — typically 30 to 50% more for the roof element alone. And it requires more precise installation.
For most school projects, polycarbonate is the practical choice. For schools where appearance matters and budget allows, glass is the better long-term investment.
Frame material: aluminium is the only realistic choice for schools
Steel walkways exist. Timber walkways exist. Both are cheaper upfront.
Steel corrodes, particularly in environments where it encounters salt air, chemical cleaning products, or standing water. School environments are hard on steel — cleaning chemicals, ball impacts, and constant foot traffic are not gentle. A steel walkway needs repainting every five to seven years and rust treatment if the coating is broken. The maintenance budget over 20 years typically exceeds the initial cost saving.
Timber has the same problem. The rotting timber bus shelter in every English village is the visual argument against specifying timber for a school walkway that will be in place for 25 years.
Aluminium does not rust, does not rot, and requires no repainting. The powder coat finish lasts the life of the structure. For a school with a limited maintenance budget and a facilities team that has more urgent priorities than walkway upkeep, aluminium is the only sensible material.
Specify extruded aluminium, not sheet aluminium. Extruded sections are structurally stronger and dimensionally accurate, which matters for weather-sealing at joints.
Fixing to the existing building
How the walkway connects to the existing school building is the detail most schools do not think about until a contractor asks the question and the answer turns out to be complicated.
Wall-fixed. One side of the walkway fixes to the wall of the existing building using wall plates or structural brackets. This is the cleanest and most stable fixing method where the wall construction allows it. You need to know the wall construction — masonry, timber frame, cavity wall — before specifying, because fixing loads into different wall types require different fixing methods. The walkway supplier or a structural engineer should confirm suitability.
Post-supported both sides. The walkway is supported on posts on both sides with no wall fixing. This is used where the walkway runs between two buildings with a gap between them, or where wall fixing is not practical. It adds to the cost (more posts, larger foundations) and the structural specification.
Cantilevered. Some walkway designs cantilever from one set of posts or from the wall, leaving one side open with no support post. This works for shorter spans and creates a more open feel. It requires a more substantial structure on the fixing side.
Your supplier should survey the site before specifying the fixing arrangement. Any supplier that quotes without a site visit should not be trusted on fixing details.
The questions to ask every supplier
When you go out to quote, ask every supplier these questions and compare the answers:
What warranty covers the structure, the roof panels, and the fixings separately? Warranties on different components vary. A 25-year structural warranty is meaningless if the polycarbonate panels are only covered for 10 years.
What is the fixing method to our specific wall construction? If they cannot answer without a site visit, insist on one.
What wind and snow load has the structure been designed to? A walkway in Yorkshire needs a different specification to one in the Thames Valley. BS EN 1991 (Eurocode 1) governs loading for UK structures. Ask whether the design complies.
What does the handover documentation include? For planning applications, building control, or DfE funding documentation you may need: structural calculations, CE marking documentation, installation manual, and a dimensioned as-built drawing. Confirm these are included before you sign.
What is included in the installation price? Specifically: groundworks, foundations, traffic management, waste removal, and making good of the building surface after wall fixing. Hidden costs in school walkway projects almost always come from groundworks and enabling works not included in the headline price.
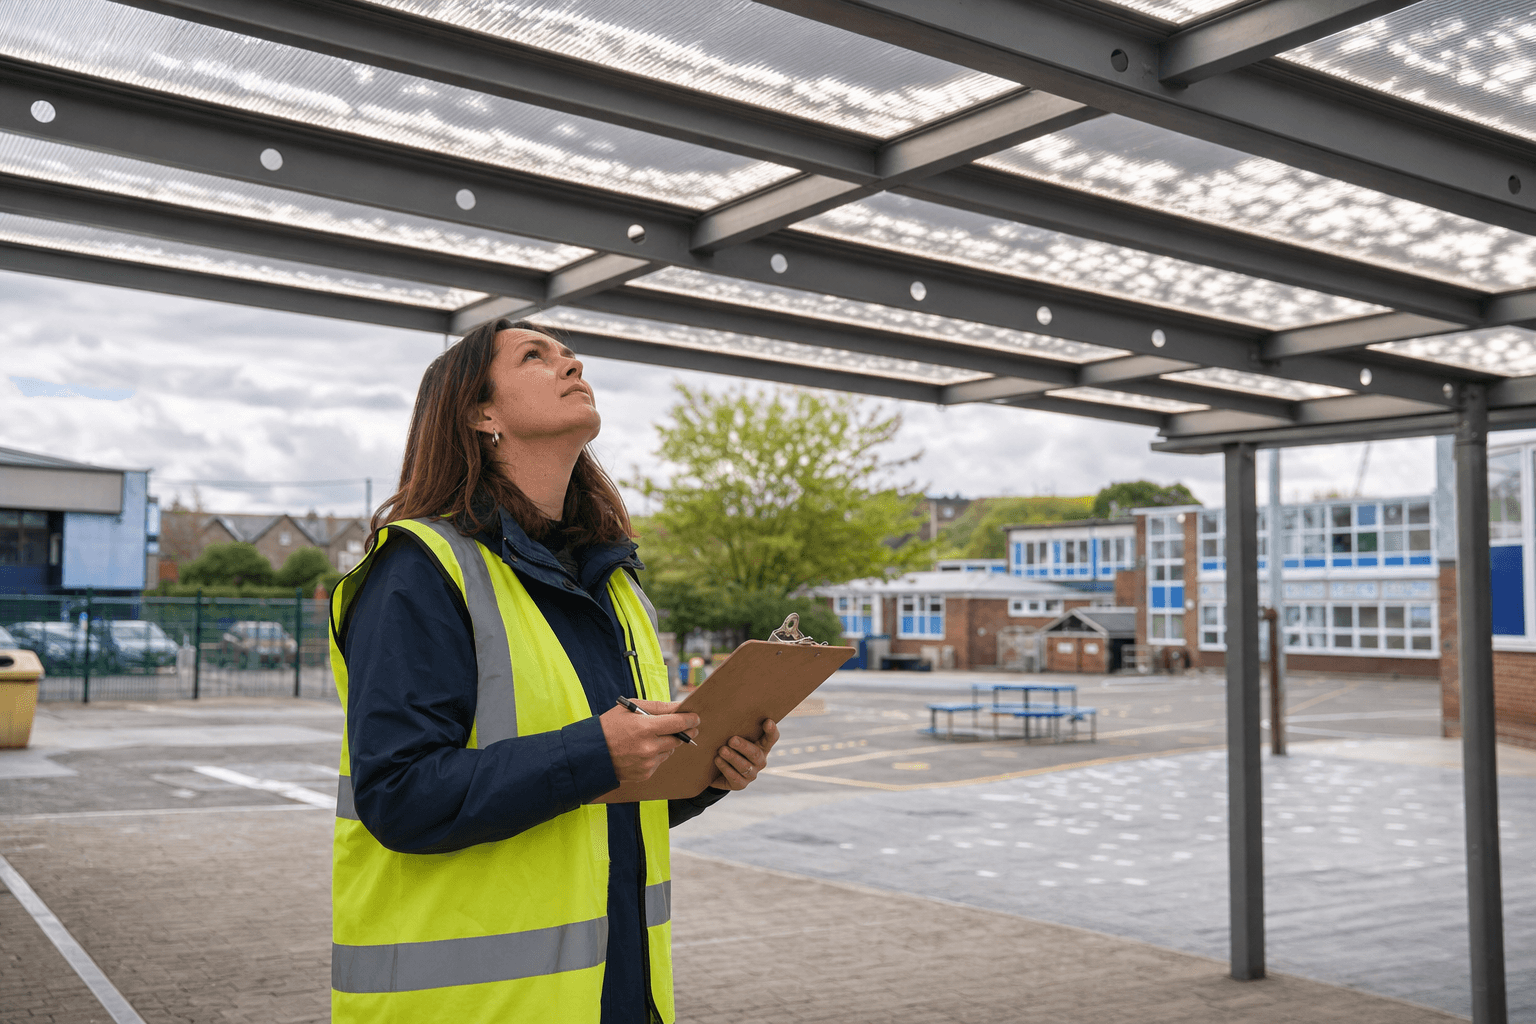
What a site survey should tell you
A good free site survey from an experienced manufacturer takes 30 to 45 minutes and comes back to you with: a dimensioned drawing showing the walkway footprint; a recommendation on width based on your actual usage scenario; confirmation of the fixing method for your wall construction; an assessment of ground conditions and likely groundworks requirements; and a specification recommendation with reasons.
If the site survey produces only a quote with no drawings and no written specification reasoning, you do not yet have enough information to make a good decision.
We carry out free site surveys for school covered walkways and come back with full drawings and a written specification. Most school business managers tell us it is the point where the project became real rather than theoretical. Call 01704 547 321 or request a survey online.
For the complete guide to funding your school's covered walkway project, read: How Schools Fund a Covered Walkway: DfE Grants, SCA and All Your Options Explained.
About Alex Thomas
Founder of Alotek Shelters with 30+ years of experience in outdoor structures. Known for attention to detail and a relaxed, practical approach to problem-solving.
Get in touch →